

Everything you need for work, home and learning
Over 180 Stores
Click & Collect
Top Brands
Print & Copying
DHL Service Point
Western Union


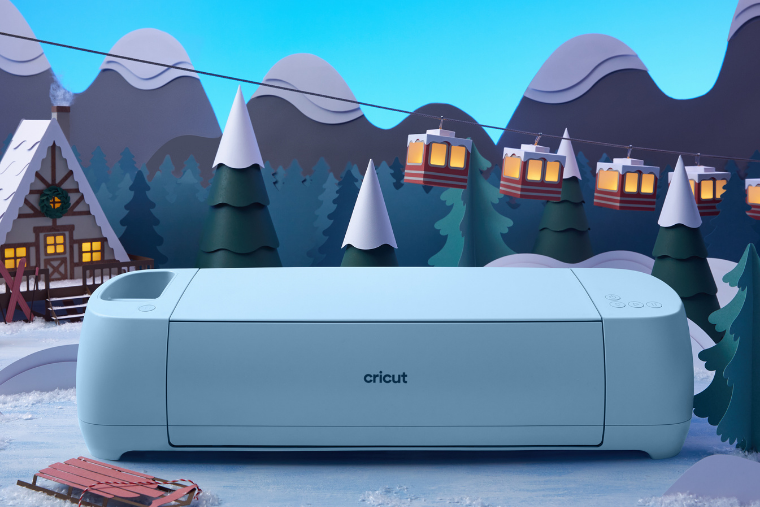
Christmas is the perfect time of year to start making fun crafts. It’s cold outside, the days are getting shorter, and the ultimate cosy winter night is with a mug of hot chocolate and your favourite craft materials. Why not make Christmas unique this year and have a personalised Christmas? Using your favourite Cricut machines, create thoughtful handmade gifts and dazzling decorations. We have put together the best Christmas Cricut ideas that you can try. Grab your Cricut, and get crafting!
Having a Cricut machine opens up a whole world of Christmas craft possibilities. We’ve handpicked the best Christmas gifts you can make with your favourite Cricut products.

Bullet journaling is very popular nowadays, and starting a new one is a great way to begin the New Year. Why not give your friends the gift of a beautiful personalised bullet journal. Using a Cricut machine like the Cricut Explore 3 and some Cricut Smart Vinyl you can create unique designs to go on as many bullet journals as you need.
Steps
1. Choose a vinyl colour that complements the bullet journal.
2. Import or create your design in Cricut Design Space, and make sure it fits the size of the bullet journal. You can really let your creativity flow here, why not choose your friend’s favourite quote or an illustration from their favourite film?
3. Once you’re happy with the design, make sure the vinyl is secure and set it to cut.
4. Carefully place Cricut Vinyl Transfer Tape over the design and gently peel off the backing on the Smart Vinyl.
5. Place it on the bullet journal, and you’re done!
Get your friends New Year ready with a personalised bullet journal this Christmas.
Everyone needs a phone case, and making a personal one is the perfect gift.
Steps
1. You will need a plain phone case, and a Cricut machine such as Cricut Maker.
2. Import or create your design in Cricut Design space.
3. Once it’s uploaded, measure the straight edge of the phone case and make sure that you change your design to fit the case.
4. When you’ve checked the design and you’re happy with it, click ‘Make It’. Place the cutting blade and Cricut Permanent Smart Vinyl into the machine.
5. Press ‘Go’.
6. Once the design has been cut, weed away any access vinyl, do so using the Essential Tool Set.
7. Carefully peel the vinyl and place it on the phone case like a sticker.
8. Make sure there are no air bubbles trapped, and you’re done.

Make further use of your Iron-On Cricut material and create some personalised cushion covers this Christmas. You’ll delight your friends with this comfy gift.
Steps
1. Grab a plain cushion cover and make sure it’s compatible with the Iron-On material, cotton works great.
2. Once you’ve selected your cushion cover, hop into Cricut Design Space and import your design or create it. Remember to check the size of the cushion and adjust your design accordingly.
3. Pick up your favourite Cricut machine, insert the Iron-On material and set your machine to cut. If the design needs weeding, make sure you do so with the Cricut toolset.
4. Now you’re ready to iron the design onto your cushion cover. After ironing on, leave it to cool before popping a cushion into the cover.
5. Carefully squeeze in a fluffy cushion and pop it in a gift bag!
You’ll definitely be giving the comfiest gifts this year.
Every home has a tea towel in it so you can’t go wrong with giving one as a gift. Make it extra special by personalising it with Cricut!
Steps
1. You know the drill, choose your favourite Cricut machine, open Cricut Design Space, and import or create your design.
2. Take the time to measure the tea towel and make sure the design will fit.
3. Place your chosen Iron-On Cricut material into your machine and start cutting.
4. Once cut and weeded with the appropriate tools, carefully iron the design onto the tea towel.
5. When the material cools, you can get it wrapped up and ready to be gifted!
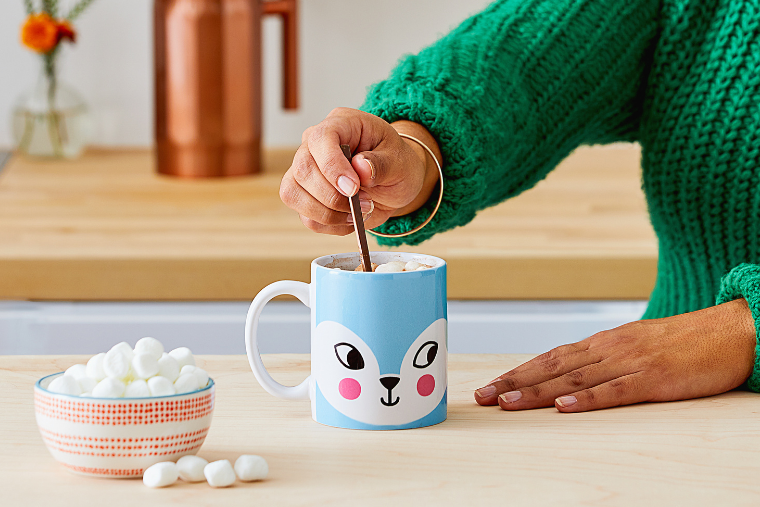
Cricut Mug Press is the latest and greatest Cricut gadget you need in your craft room. It’s also perfect for making a festive mug.
Creating a personalised mug with Cricut Mug Press is easy when it’s paired with another machine such as Cricut Joy.
Steps
1. Import your design into the Cricut Design Space on your desktop, tablet or smartphone. If you prefer, you can create your design within Design Space.
2. Select an Infusible Ink Sheet and cut your design using your chosen Cricut machine.
3. Once cut, carefully place the design onto the Blank Mug and apply heat using Cricut Mug Press.
4. Wait for the progress bar to fill up and remove once done. It’s that easy!
The mugs you create will be professional quality, your friends won’t believe you’ve made them!

Now you’ve got the gifts sorted, why not decorate your home with some wonderful Cricut creations? There are so many amazing decorations you can make with Cricut.
Easily decorate glass baubles with your favourite Cricut machine.
Steps
1. Choose a plain glass bauble. If you can find a flat glass ornament these will work too, and will be more suitable for beginners.
2. Create or import your design into Cricut Design Space.
3. Measure the bauble and make sure your design fits.
4. Insert the Cricut Smart Vinyl into your Cricut machine. If you have a festive colour like red or green, these will look even better!
5. Set your machine to cut.
6. Once cut, weed the design if needed using the Essential Tool Set.
7. Gently place transfer tape over the top of the design and peel away the back of the vinyl.
8. Place the design onto the bauble carefully, and press out any air bubbles.
You’re all set with your Cricut Christmas baubles! They’re going to look great on your tree.
There’s nothing more festive than a Christmas garland hanging above a fireplace. They’re also great for Christmas parties. Why not make Christmas extra special this year with a handmade garland?
Steps
1. Decide what word you want written on your garland. This will determine how much cardstock you will need, and how long your ribbon or string is.
2. Create your design in Design Space. Make sure you separate each letter so your Cricut machine doesn’t cut them all as one big shape. Check that the letters will be big enough to have a hole punched in the top centre.
3. Select your cardstock, the more festive the better, and pop it into your Cricut machine.
4. Set your Cricut to cut. When done, carefully weed the letters if needed.
5. Using a hole punch, punch through the top of the letters in the centre. This is where you will put the string through.
6. Once all the letters have been punched, carefully thread your ribbon or string through the letters.
7. Double check that you’ve spelt the word correctly and you’re ready to hang up your lovely festive garland.
This easy way of creating a festive garland is perfect if you need to make signs for Christmas parties.

Gift tags are a must at Christmas. How else would you know whose present is whose? Create memorable gift tags this festive season using your handy Cricut machine.
Steps
1. Choose your favourite festive cardstock to make your tags.
2. Open Cricut Design Space and import or create your tag design. We recommend creating a rectangular or circular tag for simplicity.
3. Cricut Design Space has pre-made designs available.
4. Double check you’re happy with your design and that the size is appropriate for a gift tag.
5. Place your cardstock in the machine and set your machine to cut out the gift tags.
6. Weed the design using the Essential Tool Set if required.
7. Using a hole punch, punch a hole in the design where appropriate and thread some ribbon or string through it.
8. Tie a little knot or bow in the ribbon and it’s ready to be placed on your gifts!
Creating your own gift tags is so much fun, and will make you feel so much more festive.
A Christmas wreath is a must-have decoration for everyone. Why not stand out from the crowd and make a completely unique Christmas wreath yourself? All you need is a Cricut machine, card, and glue!
Steps
1. Select some thick card, we recommend 200gsm+, and draw a large circle. You can use a dinner plate to draw around if needed.
2. In the middle of the circle you have just drawn, draw a smaller circle. Use a smaller plate or bowl to assist.
3. Neatly cut out the circles using scissors, so it looks like a donut when finished.
4. If needed, create another wreath and use a glue like the Ryman Multi Purpose PVA Glue to stick them together to increase strength.
5. Once happy with the base of the wreath, head into Cricut Design Space and search for ‘Holiday Wreath’. Once found, press customise.
6. The components required to create the wreath will be uploaded into Design Space, ready for you to customise.
7. You will need to ungroup some of the elements for customisation. You can do this in the ‘Actions’ menu.
8. Once ungrouped and customised, resize some of the leaves so there are some that are larger than others.
9. When each leaf cluster has been customised, you will need to group them again in the ‘Actions’ menu.
10. You may need to duplicate some elements depending on how full you want the wreath to be. Make sure you do this once all elements have been customised to your liking.
11. Double check that the elements have been customised according to the colour of cardstock you are using.
12. When you’re happy with everything, click ‘Make It’ and follow the onscreen instructions.
13. Carefully remove the cut pieces of card using the Essential Tool Set.
14. Using the Ryman Multipurpose PVA Glue, start arranging and sticking the paper foliage onto the wreath base you created earlier.
15. Once you’ve added all the foliage, stick some ribbon onto the back of the wreath so it can be hung up and you’re done.
It's so much fun creating your own wreath, and the kids will love helping too!
There is nothing more exciting for the kids than putting together treats for Santa on Christmas Eve. So why not create a special serving tray for you to put Santa’s treats on? It’s easy with your Cricut machine!
Steps
1. Take a serving tray such as the Wham Studio Cube Pack of 3.
2. Open Cricut Design Space and upload or create your festive design. You could create text that says ‘Santa’s Snacks’.
3. Measure the tray and adjust the size of your design accordingly.
4. Place some Cricut Smart Vinyl into your Cricut machine and set it to cut your design.
5. Once cut and weeded, using a Vinyl Transfer Sheet, gently place your design onto your tray like a sticker and you’re done!
This is a super simple Christmas Craft you can create with your Cricut. The kids will love it, and so will Santa!
There are so many Cricut Christmas crafts you can create to wow your party guests. If you’re in need of more Christmas craft inspiration, you can find more here. For those of you with equally crafty friends, why not treat them to a creative gift set this Christmas? You can find all things Christmas in our Christmas shop, you won’t want to miss it! For more festive inspiration, follow us on Instagram.